This article provides information on electronic signatures in Appulate.
Overview
Requesting a quote or policy from a market often requires you to sign various documents.
To make this process faster and more convenient, Appulate uses electronic signatures (eSignatures), which is a legal way to get electronic documents confirmed or approved.
Note: This feature is only available to agency and MGA users.
Unlimited document signing is part of the Appulate ProducerConnect Premium package. However, some markets allow all agents to sign their supplemental forms. Document signing is also available to all agents during policy binding.
If an MGA user sends a document to sign to an agency without Appulate ProducerConnect Premium package, the agency can still sign the document.
You can sign and send documents for signing via the following interfaces:
- the Quote Smart Q&A and the Request to Bind dialog;
- the Quote request page;
- the Forms page;
- the Loss Runs page;
- the Documents page;
- on the Certificates page.
Quote request page
Available to agency users only.
On the Quote request page, you can send to sign quotes and indications. This applies to both uploaded quotes and indications and those you have received from a market.

1. Click the three-dot button on the quote or indication level and select Send to sign.
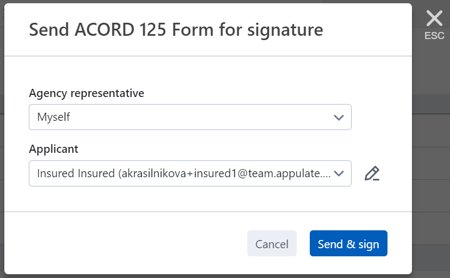
2. Select the Applicant (the insured) to whom you want to send the document for signature. Then, click Send & sign.
You can edit an existing Applicant by clicking ![]() (Edit) or add a new one.
(Edit) or add a new one.
3. The Applicant will get an email with a link to sign the document.
Once they sign it, you will be notified by email. Your email will contain the signed document.
Tip: You can cancel the signing request you've sent by clicking Cancel signing in the quote's menu ![]() .
.
Quote Smart Q&A and Request to bind dialog
Available to agency users only.
Requesting to bind a policy often requires you, and/or the insured, to sign the necessary documents, for example, a default ACORD form or other documents stipulated by a market.
These requirements are displayed in either the Quote Smart Q&A (QSQA) or the Request to bind dialog, depending on a market's configuration. Both open when you click the Request to bind button on the Quote request page. However, the requirements will be identical.
Both on the QSQA page and in the Request to bind dialog, you can send to sign, and sign, a document by clicking the Send to sign button. This will open the Send Form for Signature dialog.
-3.png?hsLang=en)
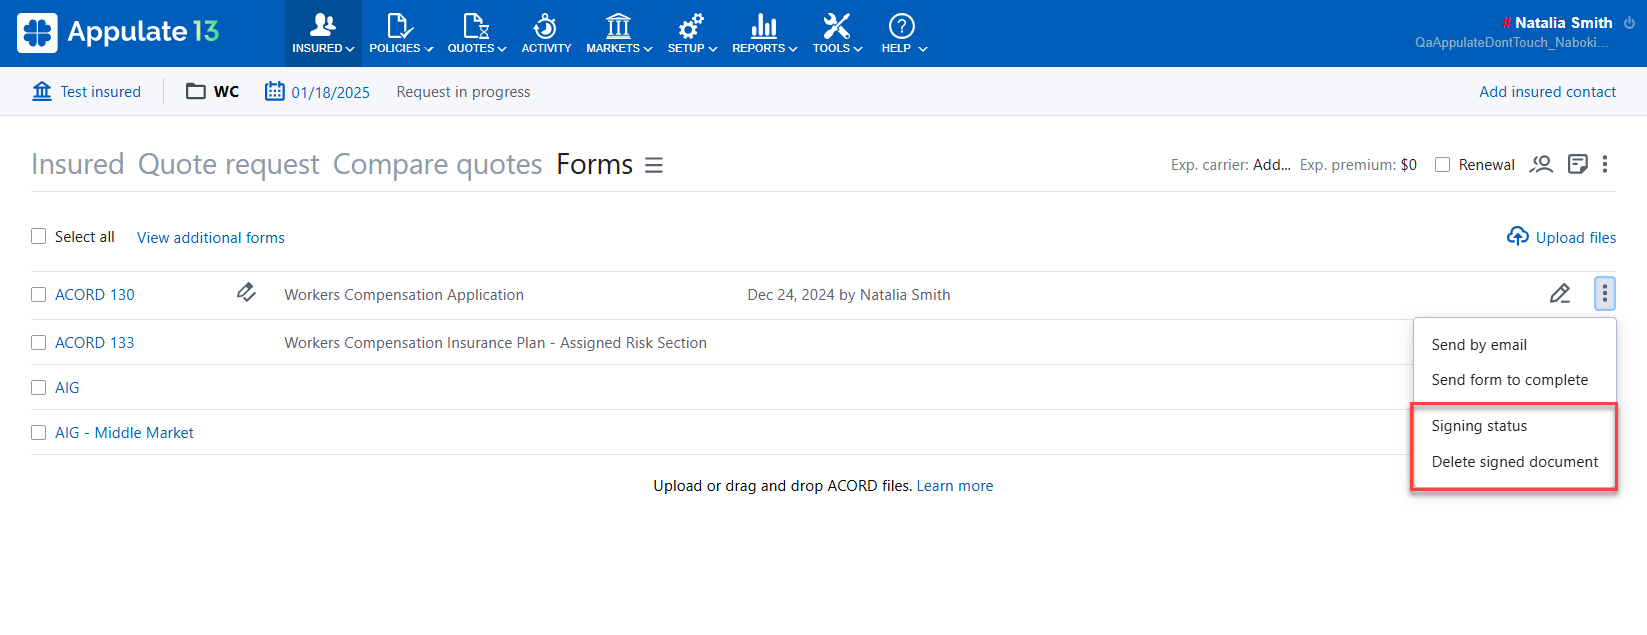
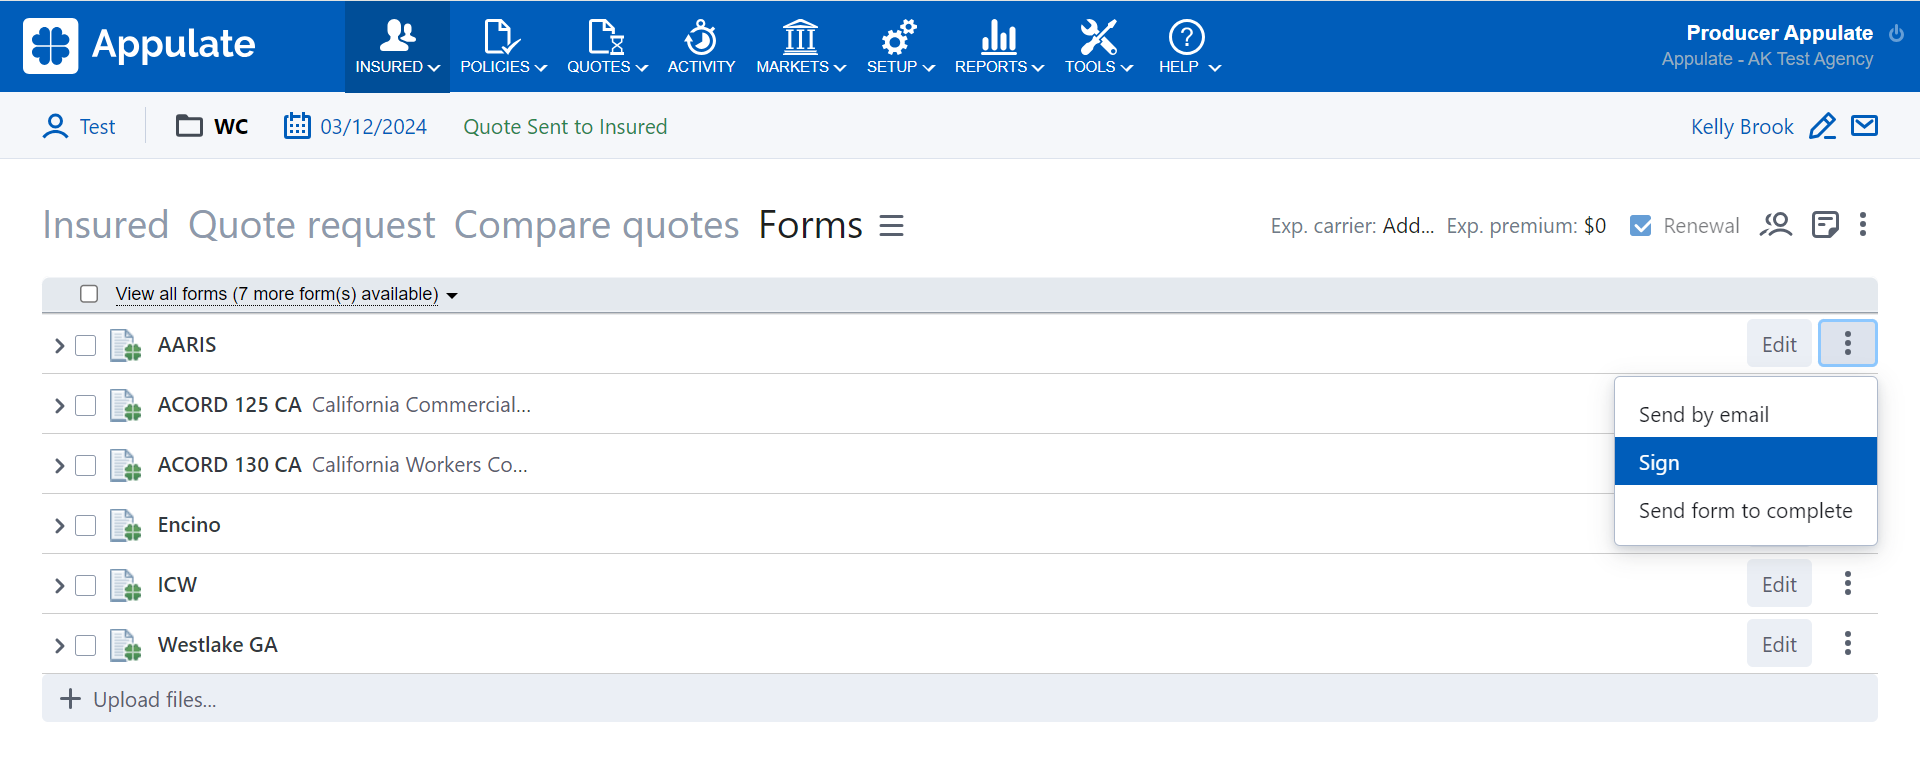
Forms page
Available both to agency and MGA users.
You can sign and send to sign forms on the Forms page by:
- clicking Sign (or Send to Sign for MGA users) in a form's menu;
- clicking the expander arrow near a form to open its Actions grid and clicking Sign now.
Both will open the Send Form for Signature dialog.
Loss Runs page
Available to agency users only.
When you send a LossRunner request in the Send LossRunner to {MarketName} dialog, the signer will get an email notification via the eSignature service.
Documents page
Available both to agency and MGA users.
On the Documents page for quote requests and policies, you can sign PDF documents and images.
1. Click the menu ![]() on a document's level and select Sign.
on a document's level and select Sign.
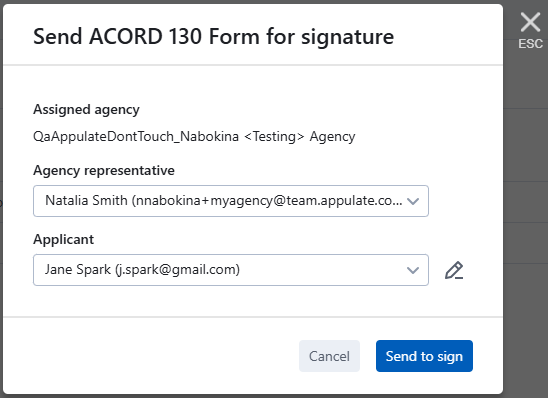
2. Choose the Agency representative and Applicant in the Send Form for signature dialog. Then, click Send & sign.
You can edit an existing Applicant by clicking ![]() (Edit) or add a new one.
(Edit) or add a new one.
3. Add your signature in the Sign Document window. Then, click Finalize.
4. The Applicant will get an email with a link to sign the document. Once they sign it, you will be notified by email. Your email will contain the signed document.
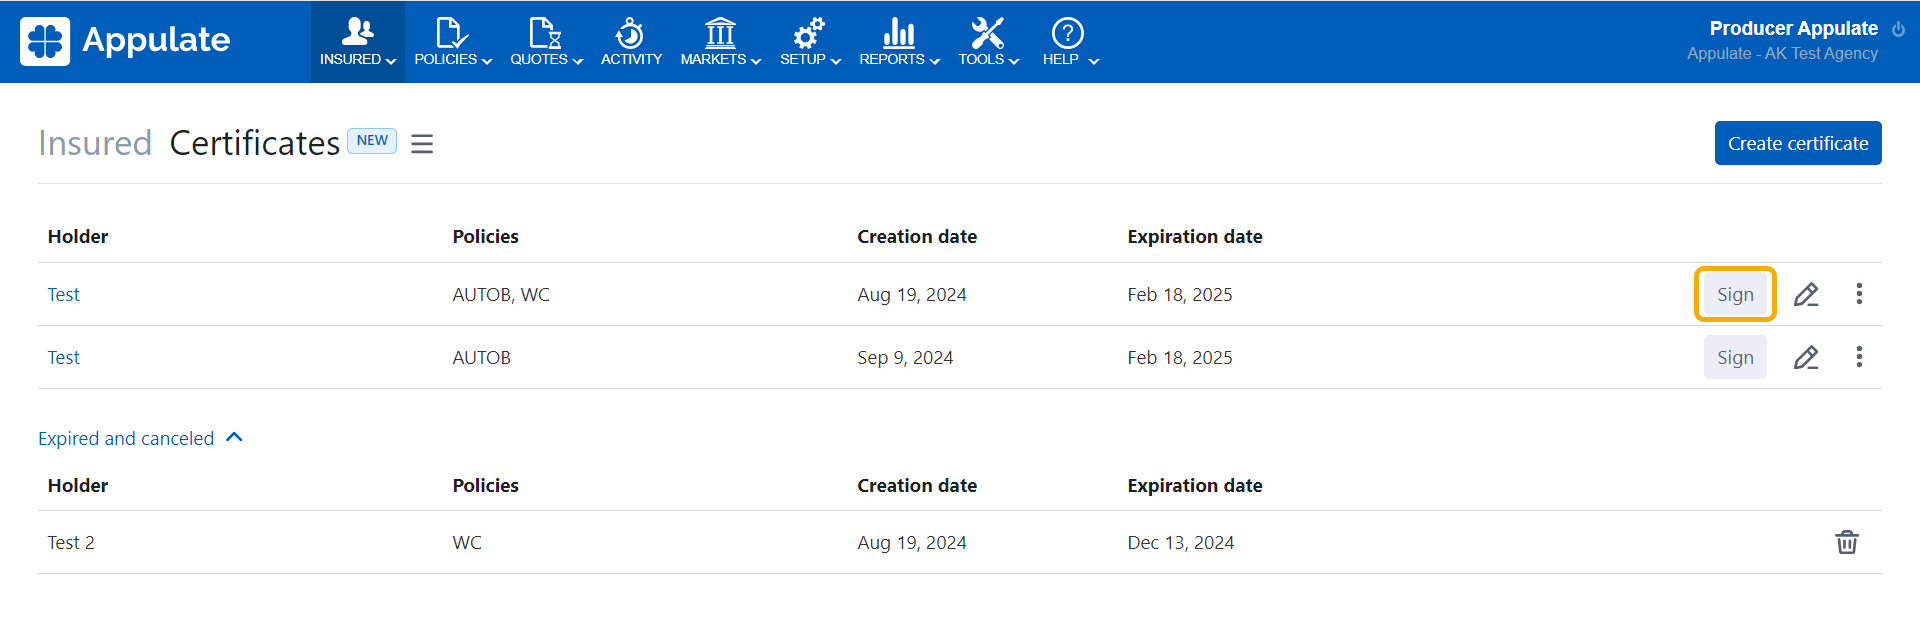
Certificates page
Available to agency users only.
You can sign and send to sign certificates on the Certificates page.
Send Form for signature dialog
The Send Form for signature dialog opens when you click:
- a form's Send to sign button in the Request to bind dialog;
- a form's Sign (Sign now) button on the Forms page;
- a document's Sign button on the Documents page.
Depending on whose signatures are required, the dialog may have one or both of the following fields:
- Agency representative (Producer or CSR);
- Applicant (the insured). You can edit an existing Applicant by clicking
 (Edit) or add a new one;
 - If the dialog is opened by an MGA user, it will also include Assigned agency. Agency Representative field will contain Producers and CSRs of the assigned agency.
Clicking a field's expander arrow opens a dropdown list where you can select the appropriate option. Clicking Send & sign sends the document for signing.
Note: If you selected an insured contact in the Main contact panel in the top-right corner of the Quote request page, this person will be automatically filled in the dialog's Applicant field.
After the document is sent for signing
After you select whom you want to sign the document and click Send & sign, the eSignature service will automatically notify the first person to sign with an email.
Note: If two users have been chosen to sign, after the Agency representative signs the document, the service will automatically notify the Applicant about the requirement to sign.
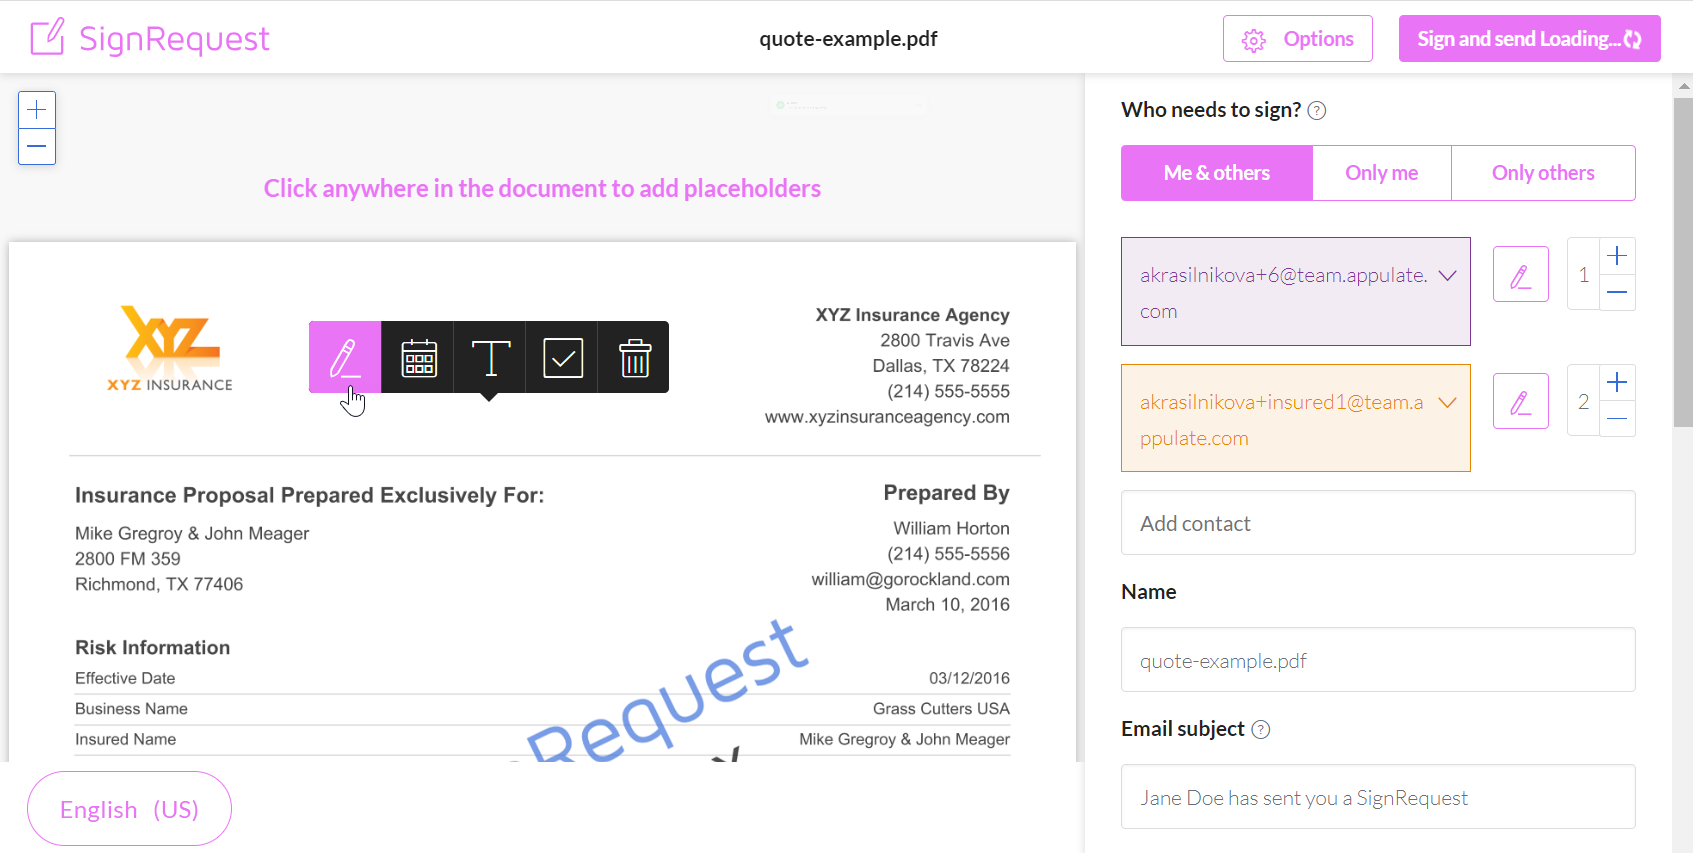
If you have opted to sign the document yourself by selecting Myself in the dialog's Agency representative field, clicking Send & sign will open the Sign Document window where you can:
- mark a place for the Applicant to sign.
Just click the place you want to be signed, click the pencil icon, and confirm the signer. Please note that the signer and the Applicant you have selected in Appulate have to match. - sign the document yourself.
Note: Marking a place for signature won't be available if:
- the Agency representative is set to Myself and no Applicant is selected;
- the document is already marked (for example, it's an ACORD form).
If someone else has to sign the document, the eSignature notification email will contain a link to sign the document.
Appulate uses SignRequest as its eSignature service:
1. Click the pointer on the SignRequest page. You will be redirected to the required signature field.
2. Click the field and type in your signature in the desired font and color.
2. Click Finalize.
Note: After signing the document, you won't be able to change it. However, you can cancel the signing or delete the signed document on its Actions grid to resign it.
After the document has been signed, all parties involved will be notified of it, namely:
- the agency's assigned producer and CSR;
- the market's assigned underwriter and CSR. If those are missing, the notification email will be sent to this market's other users who have the Catch-all notifications setting on;
- the insured (Applicant);
- the Agency representative who signed the document.
- the MGA representative who sent the document for signature.
Note: Even if the market's user doesn't have access to the signed ACORD or Supplemental form, they will still be notified.
- this agency representative didn't sign the LossRunner request, proposal, or form;
- this user is inactive;
- this user was assigned to a quote request that was deleted.
Actions grid
Once a document is signed by at least one of the required parties, its Actions grid will display the signing information.
If only you have signed the document, the grid will have the following:
- Signing status, indicates the progress of the document's signing;
- Remind to sign, sends a reminder to the signer. After clicking, the message appears: "Reminder sent";
- Cancel Signing, allows you to revoke the form's signing. After cancelling, you'll be able to resign it.
Note: The Cancel signing button is also available in the Request to bind dialog.
If all parties have signed the document, the Actions grid will have:
- Signing status, indicates the progress of the document's signing;
- Delete signed document. After deleting, you'll be able to resign it.