This article provides information on the appointment workflow in Appulate.
Overview
Appointment formalizes business relations between an agency (MGA) and a market.
Some markets require agencies and MGAs to be appointed with them to conduct business. If not appointed, their scope of actions in Appulate might be limited: they will not be allowed to request the market to bind a policy or bind a policy on behalf of this market. Requesting a quote might also be limited.
Appointment types
To get appointed with a market, an agency (MGA) has to provide a set of documents which is requested by each market individually and may vary.
Note: You can only get appointed with a selected market. For more information, see Adding markets and login credentials.
Appulate supports two appointment types:
- complex appointment requires users to provide all the necessary documents to request an appointment, which the market can accept or reject. This type is configured by the market in the Settings.
- simple appointment allows users to set an appointment with a selected market without its permission. This is the default appointment type. It implies that this agency (MGA) got appointed with this market before joining Appulate.
Appointment takes place on an agency's and market's Appointment tab. However, if
-
a market uses the Appulate submission type and complex appointment
-
your company's status with this market is Not appointed or Pending request
when your company attempts to Continue submission, Request to bind or Bind a policy with this market, the Quote Smart Q&A with the market's embedded Appointment tab will open. Its functionality is identical to the Appointment tab. You can request an appointment then and there.
The agency and market users involved in the appointment procedure will get email notifications.
The steps below walk you through the complex and simple workflows as an agency (MGA) user requesting an appointment.
Note: For information on an appointing market's workflow, see Managing your agencies in Appulate.
Complex appointment workflow
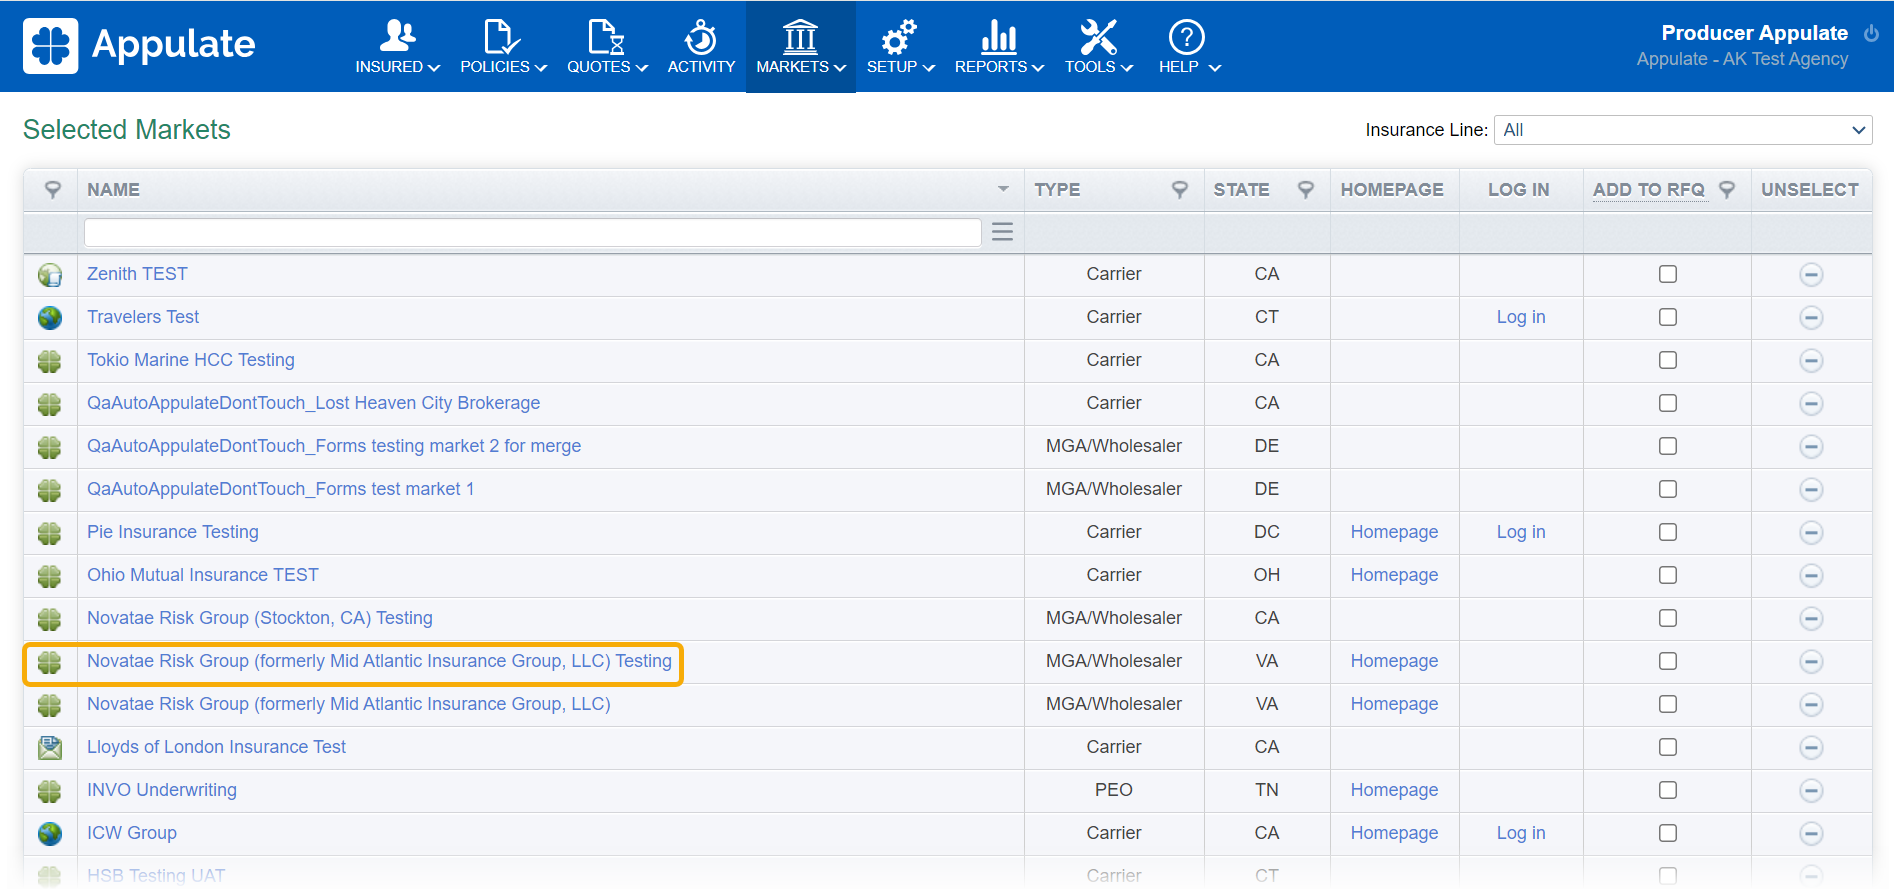
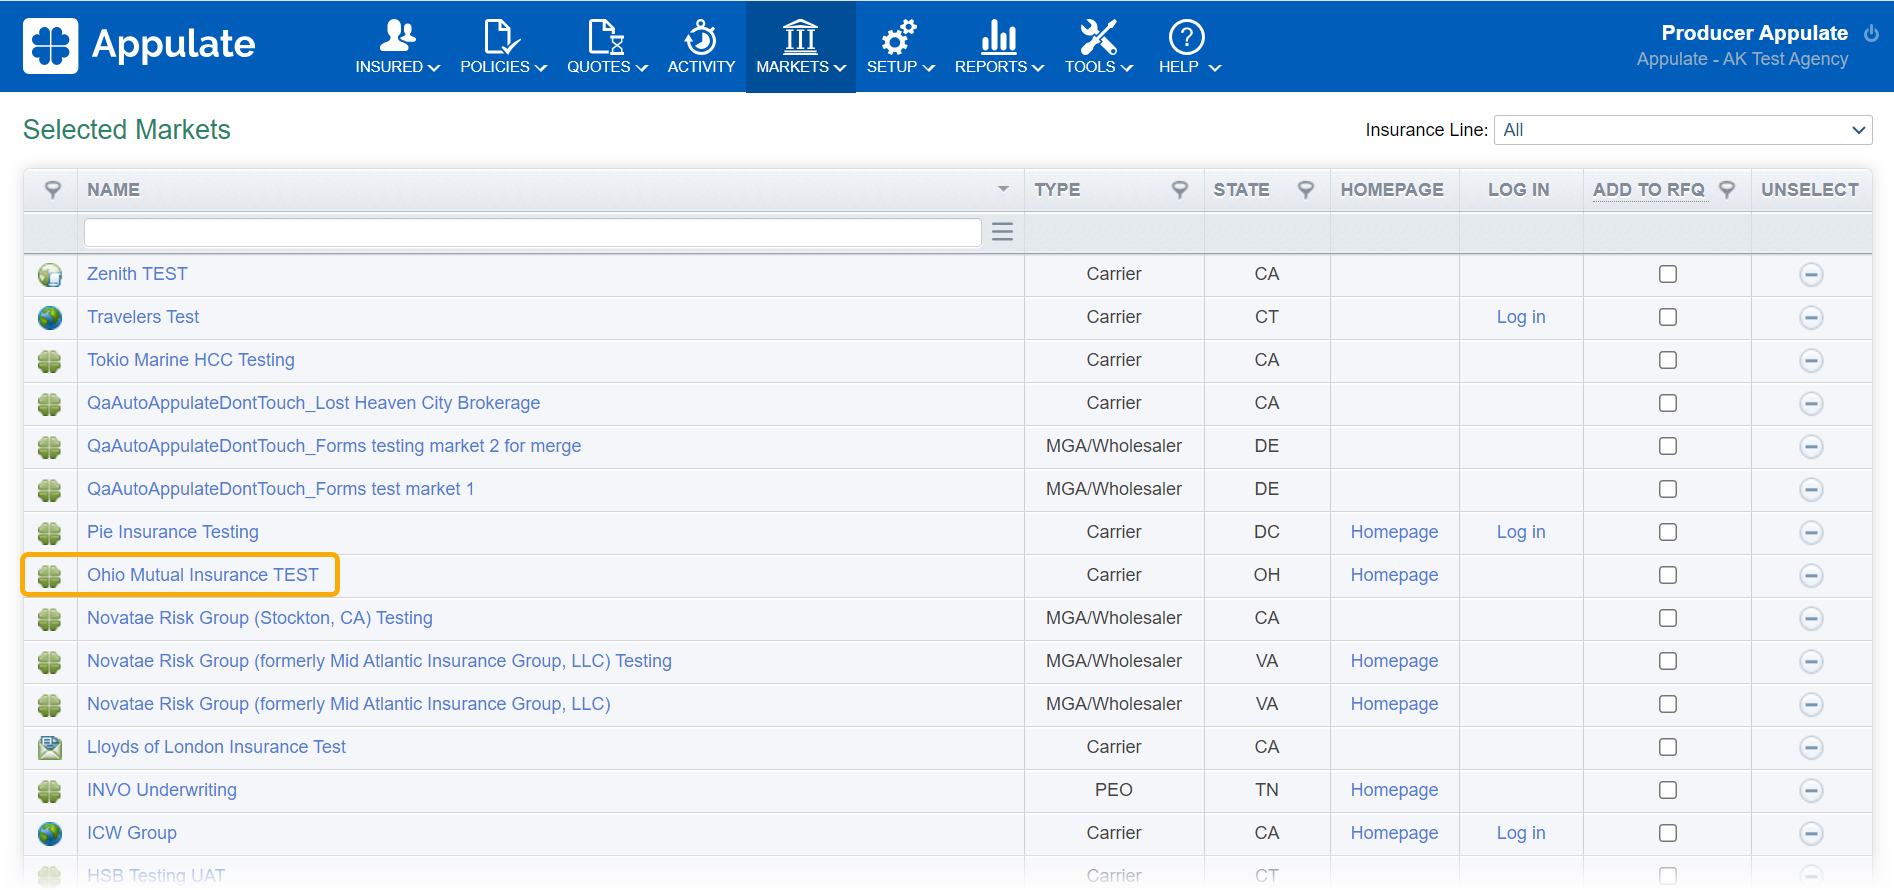
1. Go to the Appointment tab of the market you want to be appointed with.
To do this, click the market's name in the Name column on the Markets > Selected page, which will open its page. Then, click the Appointment tab.
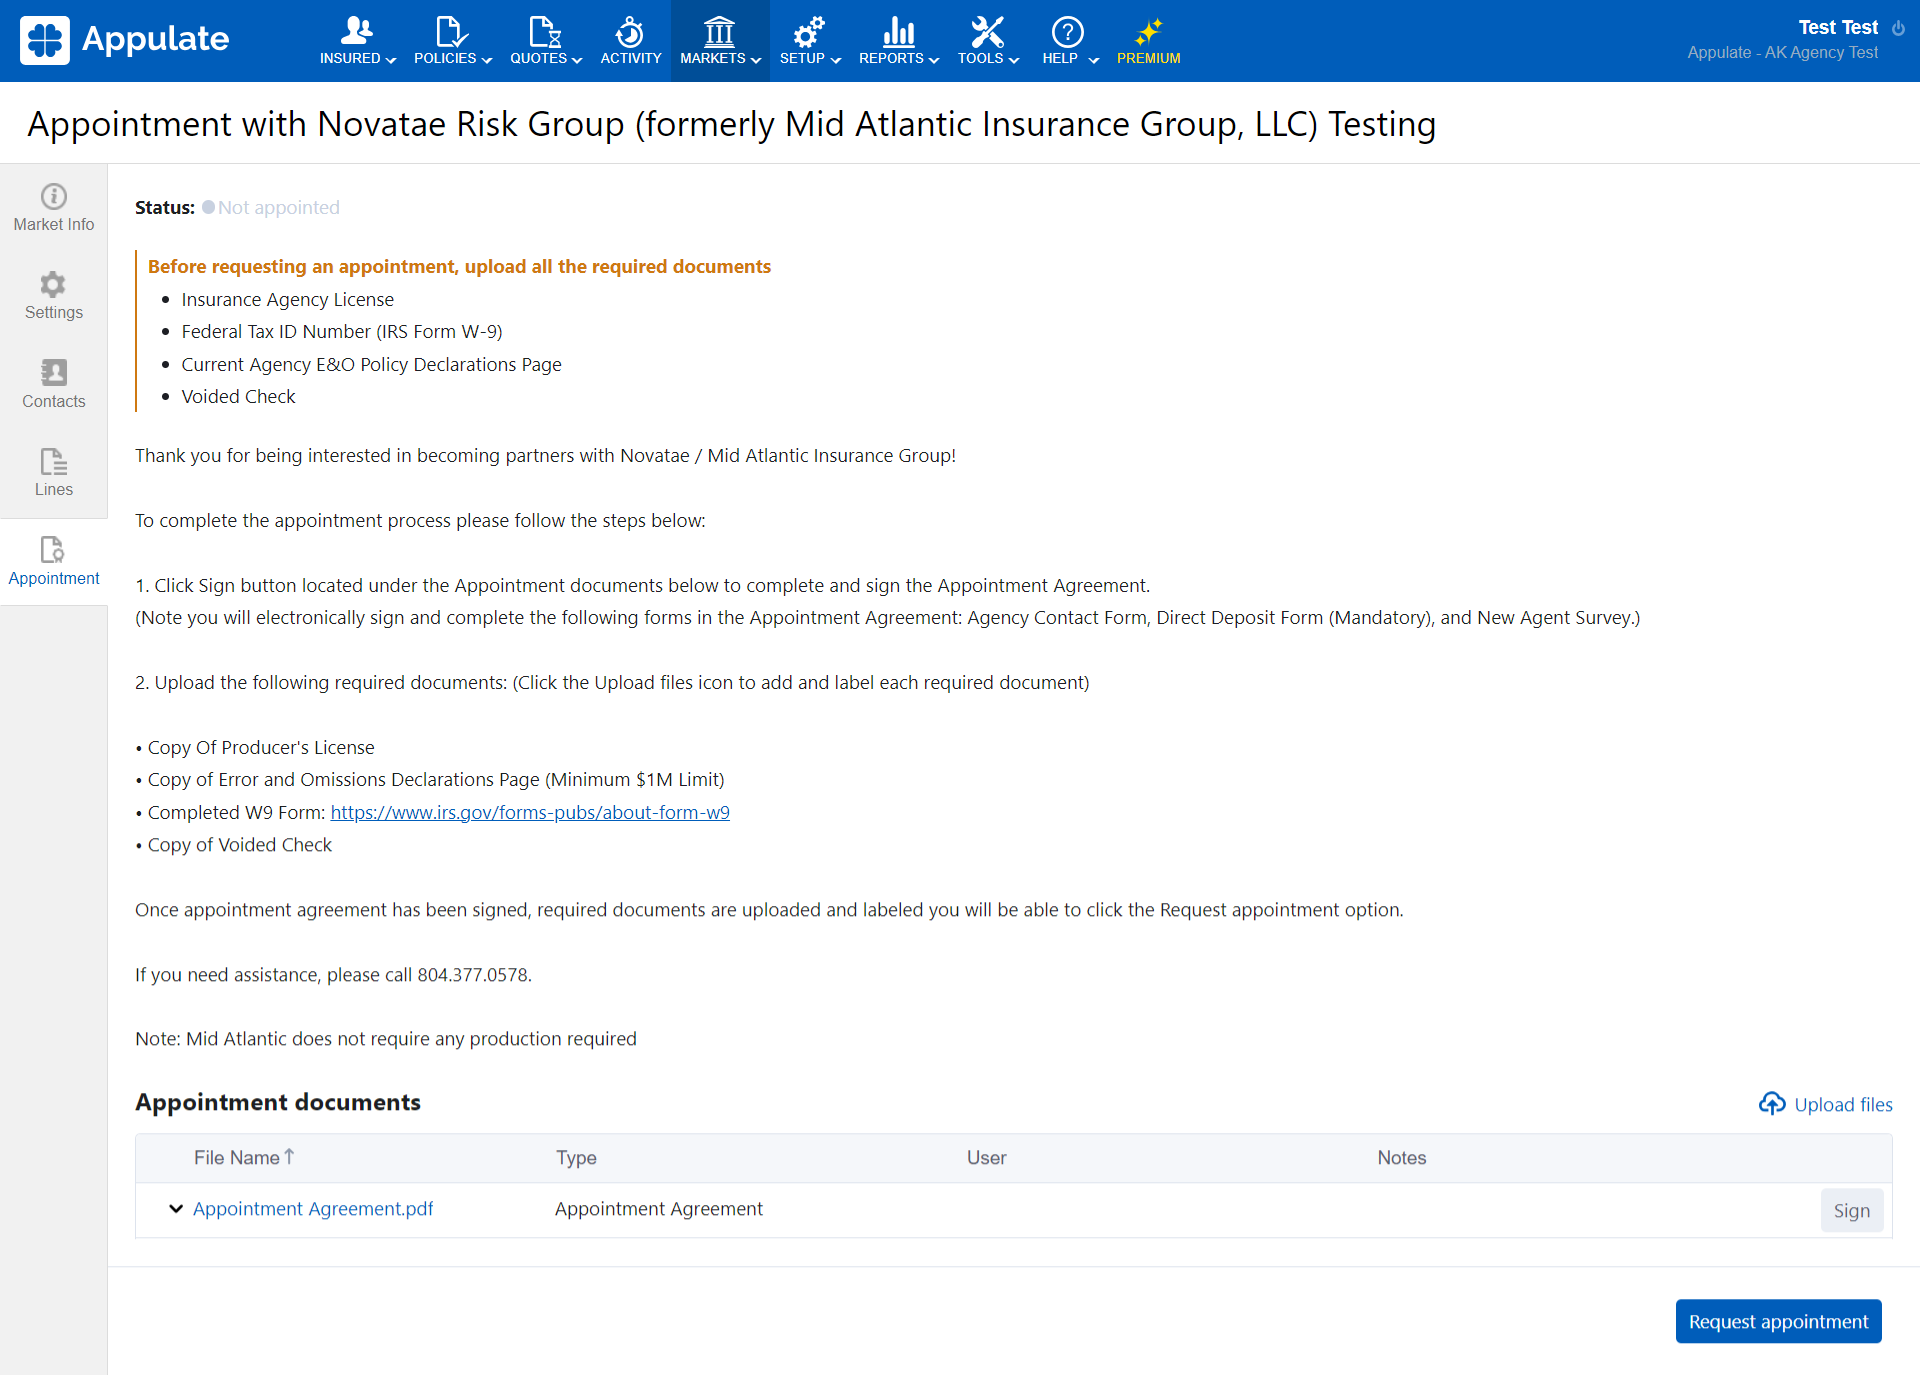
2. On the Appointment tab, upload the documents required for an appointment with this market by clicking Upload files.
Note: You will not be able to request an appointment until all the documents are uploaded. The dynamic note at the top of the page informs you which documents you've yet to upload.
- Uploading a document opens the Document Markup dialog, which allows you to choose the document type and leave notes. Click Save changes when ready.
- You can edit
 or delete
  an uploaded document.

- You may need to sign some documents, as is the case with the Appointment Agreement above. Click the Sign button to do it.
- This will open the Sign Document dialog. The pointers there will guide you to places where you need to add your electronic signature. Click Finalize when ready. This button will be disabled until you have signed all the required places.
Note: You won't be able to edit a document once it is signed. The Sign button won't be available. Click the arrow next to the document's name to see its status and relevant information (when and by whom it has been signed).
.png?hsLang=en)
3. Once you have uploaded all the documents, click Request appointment on the Appointment tab.
- Your appointment status will change to Pending request.
- You can cancel your request by clicking the Cancel request button at the bottom of the page.
%20complex%20appt%2c%20pending%20request%2c%20agency%20side.png?hsLang=en)
4. If the market accepts your request:
- you will get an email notification;
- your status will change to Appointed.
You can cancel your appointment by clicking the Cancel appointment button at the bottom of the page.
%20complex%20appt%2c%20appointed%2c%20agency%20side.png?hsLang=en)
If the market rejects your request:
- your appointment status changes back to Not appointed;
- you are sent an email notification;
- the Appointment Agreement gets unfilled and unsigned and is hidden from the market.
Simple appointment workflow
1. Go to the Appointment tab of the market you want to be appointed with.
To do this, click the market's name in the Name column on the Markets > Selected page, which will open its page. Then, click the Appointment tab.
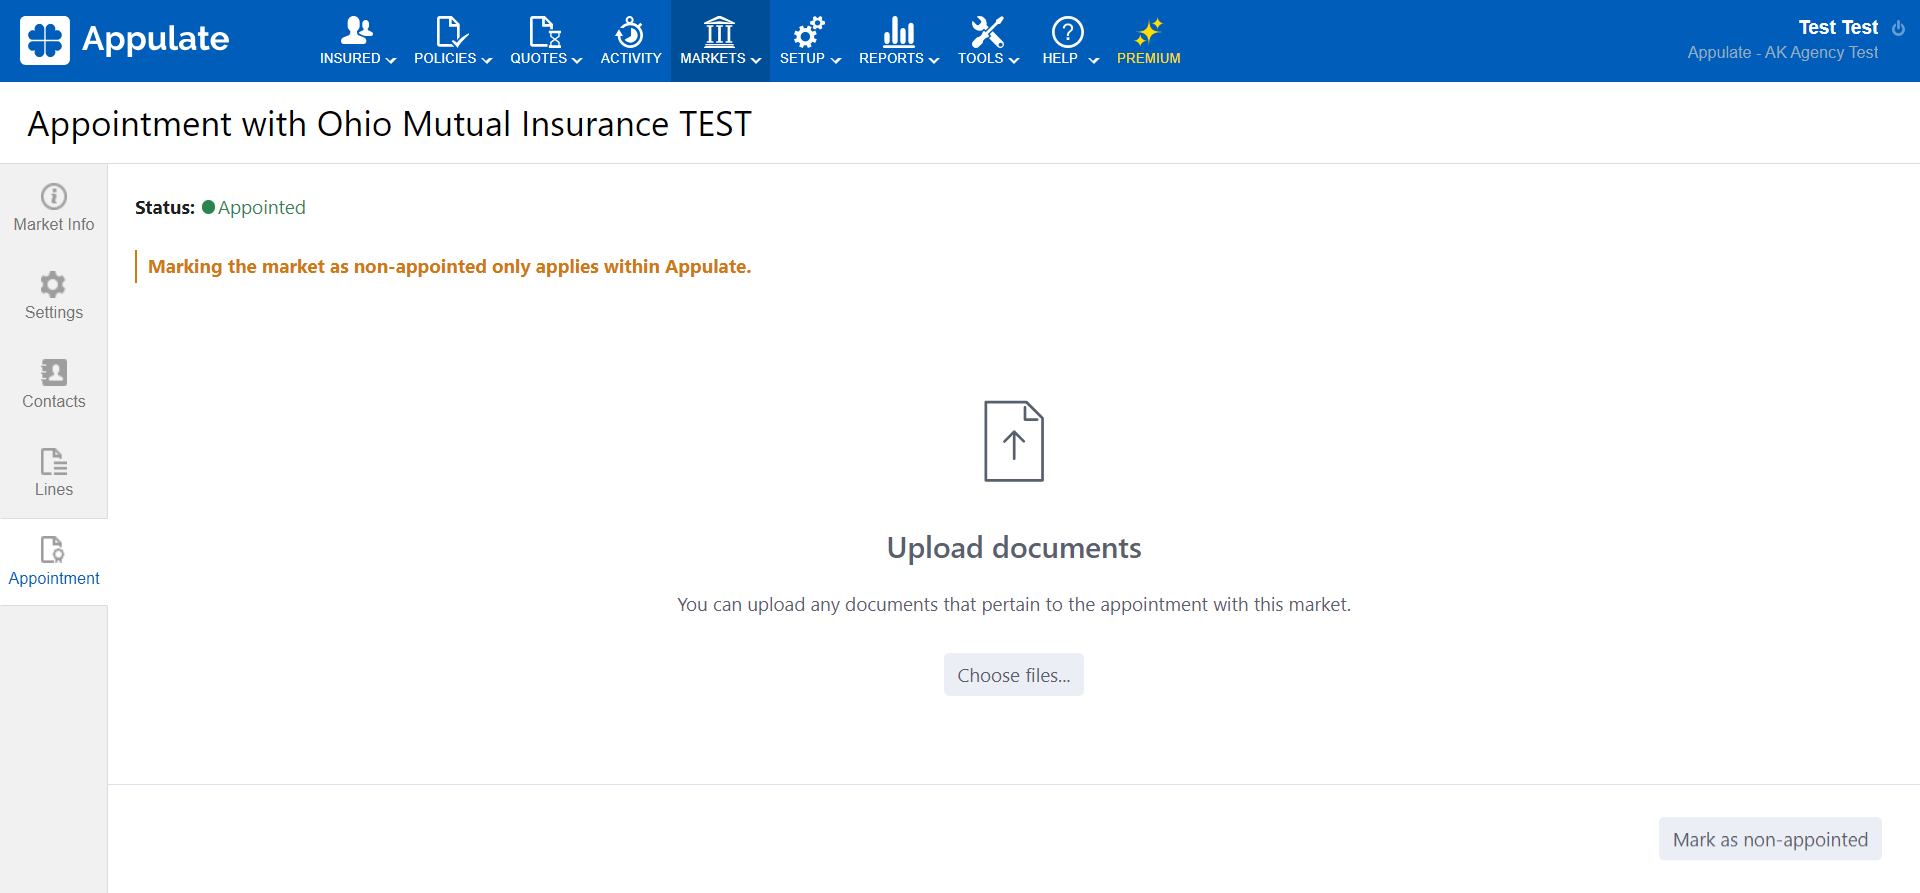
2. On the Appointment tab, click Mark as appointed to set the appointment. As indicated by the note at the top of the page, marking the market as appointed only pertains to Appulate.

3. Your status will change to Appointed. You can revoke your appointment by clicking Mark as non-appointed at the bottom of the page.