This article describes the Appulate AIM Integration and how to install all required components to integrate your local AIM application with Appulate.
Overview
Appulate AIM Integration is a solution to export information on requests for quote (RFQ) between Appulate and the AIM AMS system.
Appulate provides you with custom-built WCF SOAP Service “Appulate AIM Integration service”, which should be installed on a web server in your local network.
This service will play the role of a local proxy, which will allow secure communication and data exchange between the online Appulate web server and your local AIM database.
System requirements
- Windows 7, Windows Server 2008, or Windows Server 2003
Prerequisites
Before deploying Appulate AIM Integration service on a local server, you should prepare that server, namely:
1. Install Microsoft .NET Framework 4.0. You can use these links to get an appropriate version - Microsoft .NET Framework 4 (Web Installer) or Microsoft .NET Framework 4 (Standalone Installer).
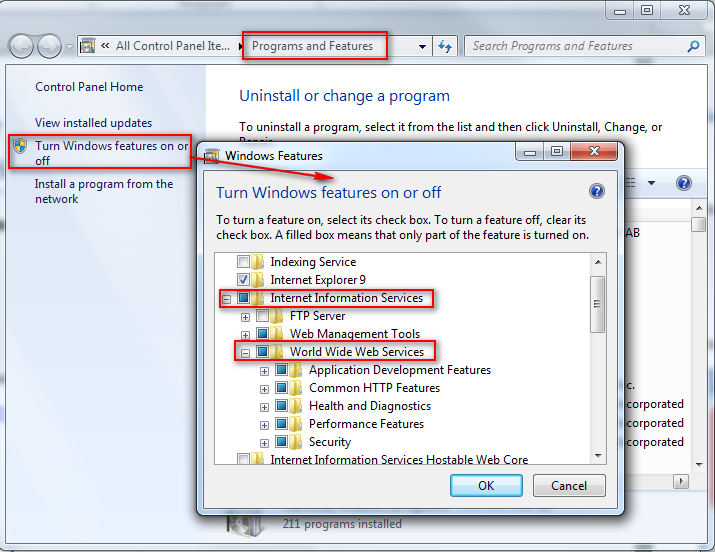
2. Make sure that the server has Microsoft Internet Information Services (IIS) installed. You can install IIS using the Control Panel option, as shown in the following figure.
Setup process #1
There are two options, depending on whether you plan to install the Appulate AIM Integration service on a new website or in a new virtual directory of an existing website. In the first case, do the following.
1. Create a folder on the local disk where you’re planning to deploy the Appulate AIM Integration service. For example “C:\AppulateAIMIntegration”.
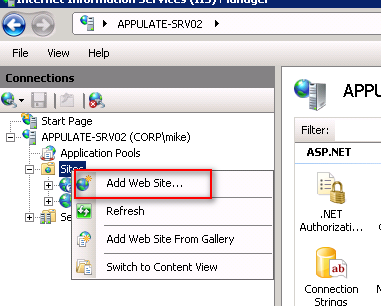
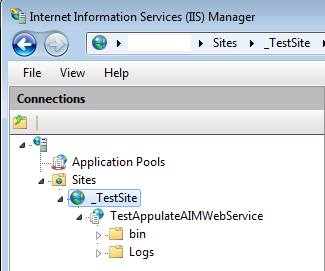
2. Go to Control Panel -> Administrative Tools -> Internet Information Services (IIS) Manager and create a new website.
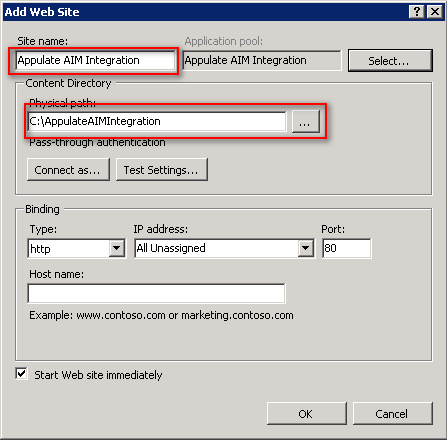
3. Enter the name of the site and the path to the installation folder. You can also specify the domain name or the dedicated port of the site if your system administrator has already configured the DNS server.
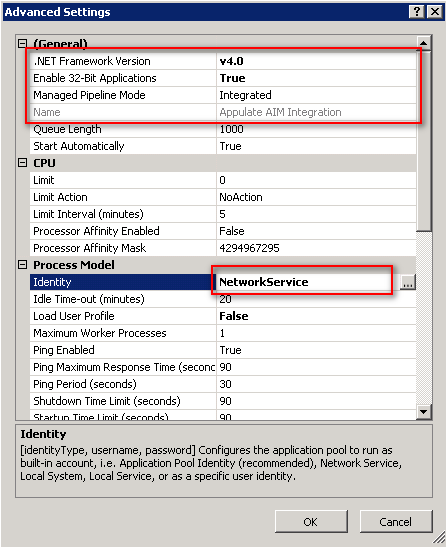
4. Click Advanced Setting of Appulate AIM Integration Application pool.
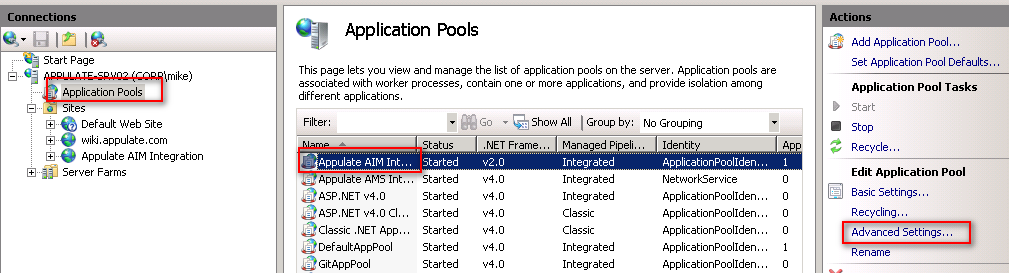
5. Make sure that the Application Pool has the following settings.
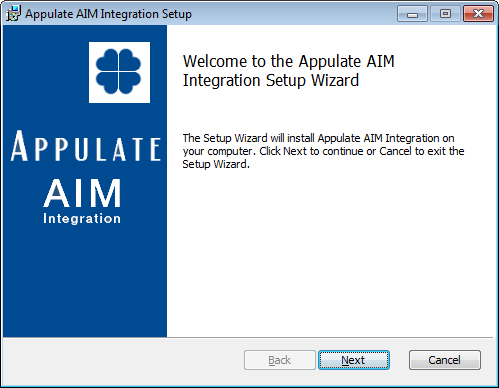
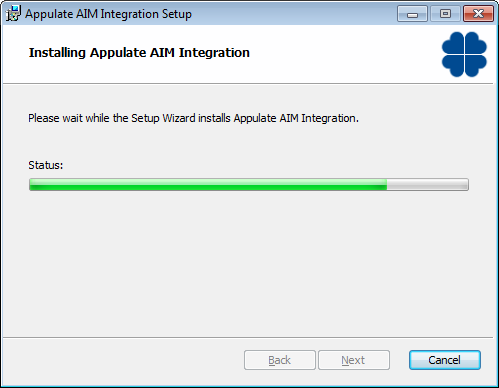
6. After configuring IIS, you can install the Appulate AIM Integration service. To do it, first find and run the SetupAppulateAimIntegration.exe file as the administrator.
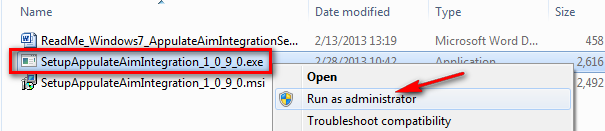
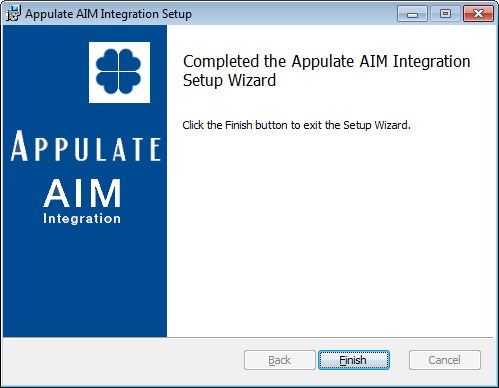
7. The Setup Wizard will appear. Click Next to proceed.

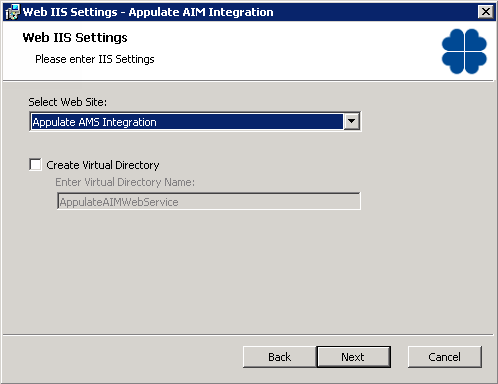
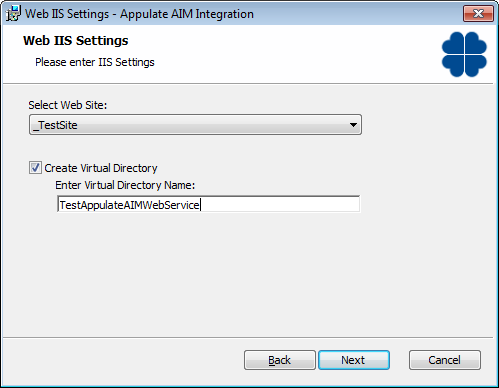
8. You will be asked which website to use - select the one you configured in step 2.
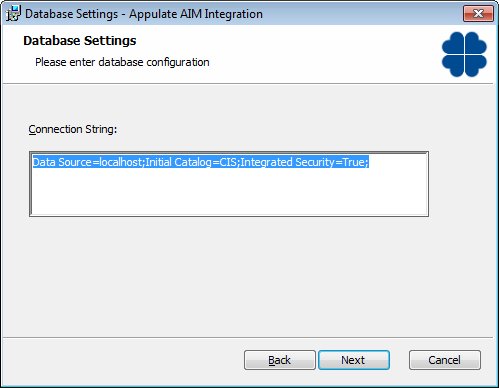
9. Specify the connection string that points to the AIM SQL Server and click Next.

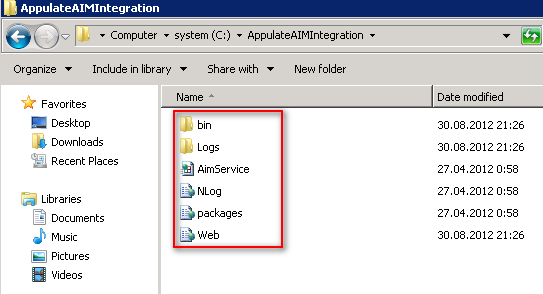
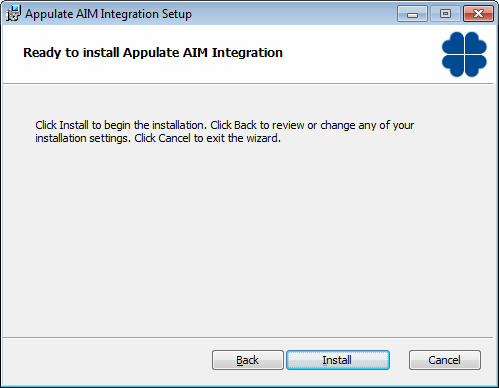
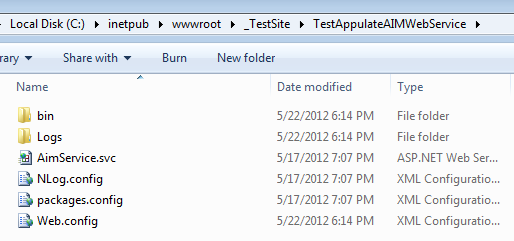
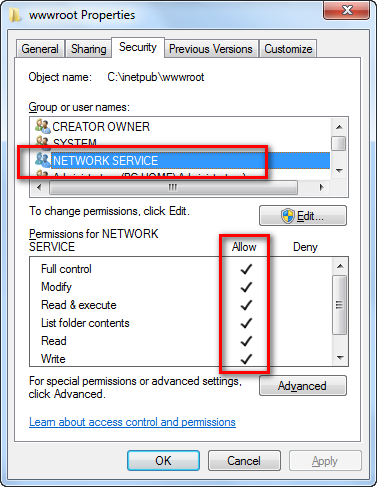
10. After the process is complete, make sure that the installation folder contains the following files and folders.
Setup process #2
If you plan to install the Appulate AIM Integration service in a new virtual directory of an existing website, similarly to the previous method, launch Setup wizard, pass its pages, and make sure that all necessary files and folders are present in the installation folder.
Results:
Folder properties - Security tab
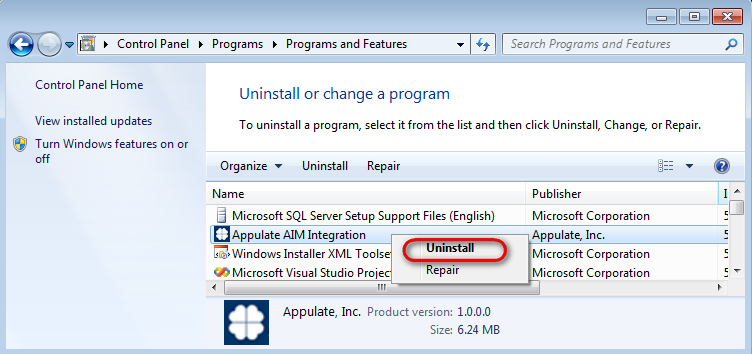
Uninstall AIM integration
Web.config
<system.servicemodel> (HTTPS)
<system.serviceModel>
   <services>
      <service name="Appulate.AIM.WebService.AimService">
         <endpoint address="" binding="basicHttpBinding" bindingConfiguration="BasicHttpBinding" contract="Appulate.AIM.DataContract.IAmsIntegration" />
         <endpoint address="mex" binding="mexHttpsBinding" bindingConfiguration="" contract="IMetadataExchange" />
      </service>
   </services>
   <bindings>
      <basicHttpBinding>
         <basicHttpBinding>
            <binding name="BasicHttpBinding"
               maxBufferSize="2147483647"
               maxBufferPoolSize="2147483647"
               maxReceivedMessageSize="2147483647"
               receiveTimeout="00:10:00"
               sendTimeout="00:10:00">
               <readerQuotas
                  maxArrayLength="2147483647"
                  maxBytesPerRead="2147483647"
                  maxStringContentLength="2147483647" />
                  <security mode="TransportWithMessageCredential">
                     <message clientCredentialType="UserName" />
                  </security>
            </binding>
         </basicHttpBinding>
      </basicHttpBinding>
   </bindings>
   <behaviors>
      <serviceBehaviors>
         <behavior name="">
            <serviceMetadata httpGetEnabled="false" httpsGetEnabled="true" />
            <serviceDebug includeExceptionDetailInFaults="true" />
            <serviceCredentials>
               <userNameAuthentication userNamePasswordValidationMode="Custom" customUserNamePasswordValidatorType="Appulate.AIM.WebService.AimUserNamePasswordValidator, Appulate.AIM.WebService" />
               <windowsAuthentication allowAnonymousLogons="false" />
            </serviceCredentials>
         </behavior>
      </serviceBehaviors>
   </behaviors>
   <serviceHostingEnvironment aspNetCompatibilityEnabled="true" multipleSiteBindingsEnabled="false" />
</system.serviceModel>
<system.servicemodel> (HTTP)
<system.serviceModel>
   <services>
      <service behaviorConfiguration="AimServiceBehaviour" name="Appulate.AIM.WebService.AimService">
         <endpoint binding="clearUsernameBinding" bindingConfiguration="ClearUsernameBinding" contract="Appulate.AIM.DataContract.IAmsIntegration" />
         <endpoint address="mex" binding="mexHttpBinding" bindingConfiguration="" contract="IMetadataExchange" />
      </service>
   </services>
   <bindings>
      <clearUsernameBinding>
         <binding name="ClearUsernameBinding" messageVersion="Soap12" receiveTimeout="00:10:00" sendTimeout="00:10:00" />
      </clearUsernameBinding>
   </bindings>
   <behaviors>
      <serviceBehaviors>
         <behavior name="AimServiceBehaviour">
            <serviceDebug httpHelpPageEnabled="true" includeExceptionDetailInFaults="true" />
            <serviceMetadata httpGetEnabled="true" />
            <serviceCredentials>
               <userNameAuthentication userNamePasswordValidationMode="Custom" customUserNamePasswordValidatorType="Appulate.AIM.WebService.AimUserNamePasswordValidator, Appulate.AIM.WebService" />
            </serviceCredentials>
         </behavior>
      </serviceBehaviors>
   </behaviors>
   <serviceHostingEnvironment aspNetCompatibilityEnabled="true" multipleSiteBindingsEnabled="false" />
   <extensions>
      <bindingExtensions>
         <add name="clearUsernameBinding" type="Appulate.AIM.Business.ClearUsernameBinding.ClearUsernameCollectionElement, Appulate.AIM.Business" />
      </bindingExtensions>
   </extensions>
</system.serviceModel>